Laravel Unit Testing – Basics
Laravel is the most popular PHP framework for application development. From the testing
perspective, it is also known to be highly adequate for its creative testing features.
In Laravel, there are two ways to test your app. One is with Unit testing while the
other is with Feature testing. Unit testing allows testing your classes, models,
controllers, etc, while Feature testing enables you to test your codebase.
If you look inside your Laravel installation directory, you can see that there are two
test subdirectories available.
- Feature
- Unit
In this blog, I will demonstrate the basics of Laravel PHP Unit testing.
Create Laravel Unit Test Case
To create a new unit test case, use the make:test Artisan command.
php artisan make:test UserTest –unit
This will create a test within the tests/Unit directory.
Now, let us learn the unit testing process by analyzing a scenario.
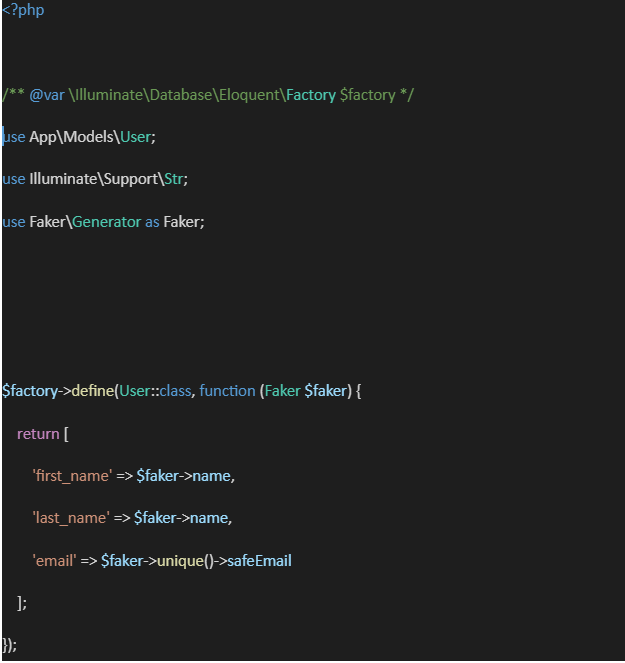
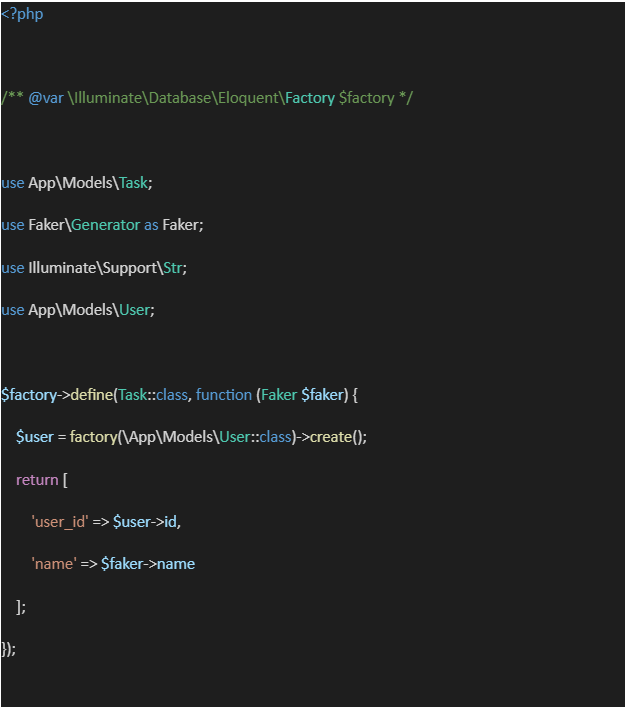
Consider a user having multiple tasks to work on. Let us start by creating factories
for the user and task models.
Similarly, Task Factory
Ok, now let us create test cases for Create, Get, Edit, and Delete User Tasks.
Here we go, first, run the artisan command to generate a test file.
php artisan make:test UserTaskTest –unit
Your test file will look like this:
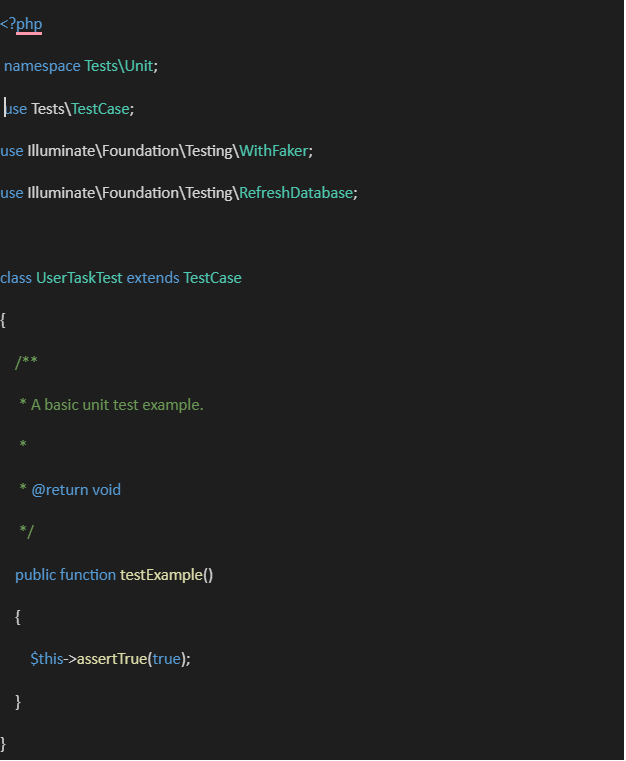
Every test method should start with a prefix test in unit testing.
Test 1: Test to create task
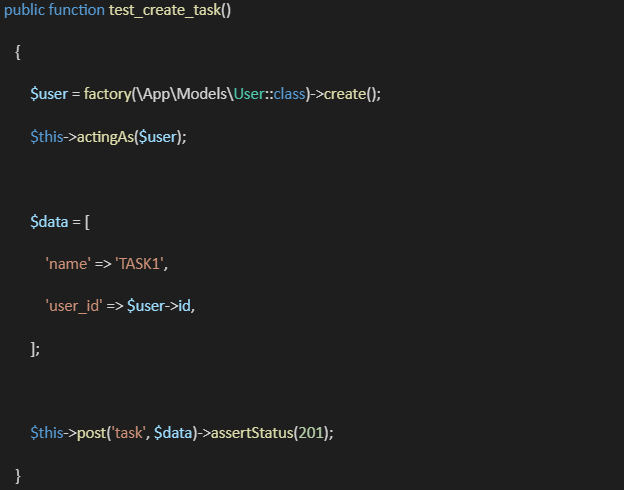
Here we have created a task entry in the database for the user, by calling the
post-task API and passing the task name and user id.
Test 2: Test to get task
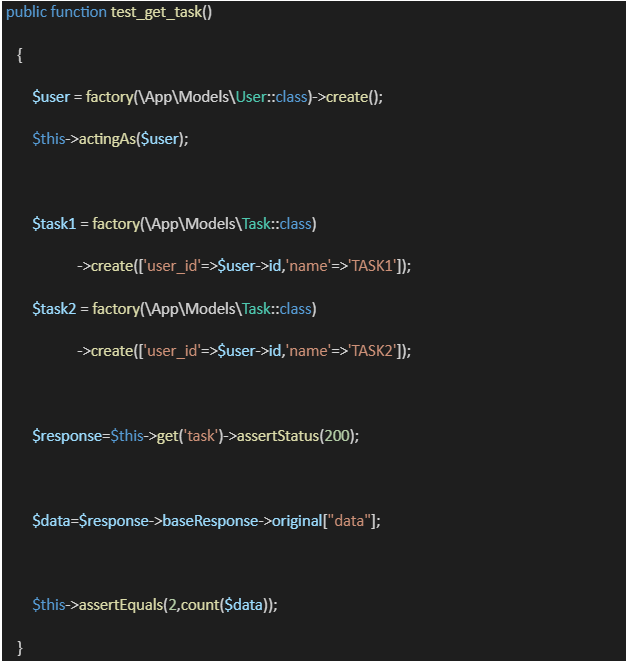
In this method, we are creating two tasks for the user - [TASK1 and TASK2]. Then by
calling the get task API we can get the response data as
baseResponse->original["data"]. Since we have created two tasks, the count of this
response will be 2.
Test 3: Test to update task
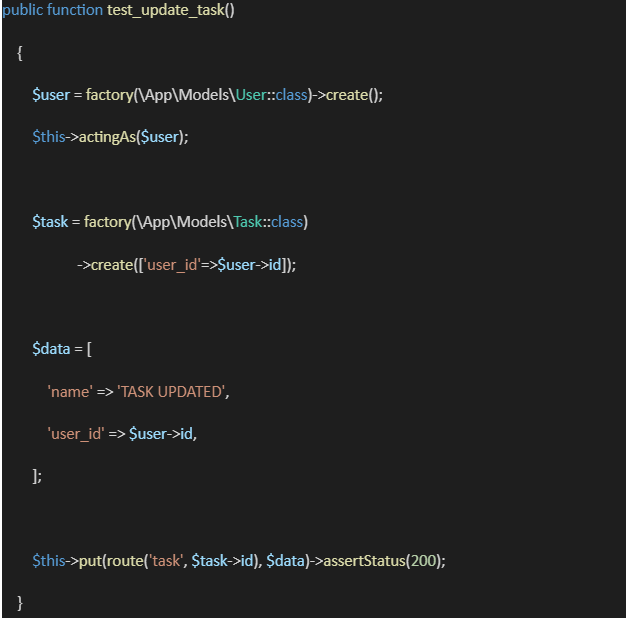
Initially, we create a task for the user, then we call the task put API with task id
and data to be updated.
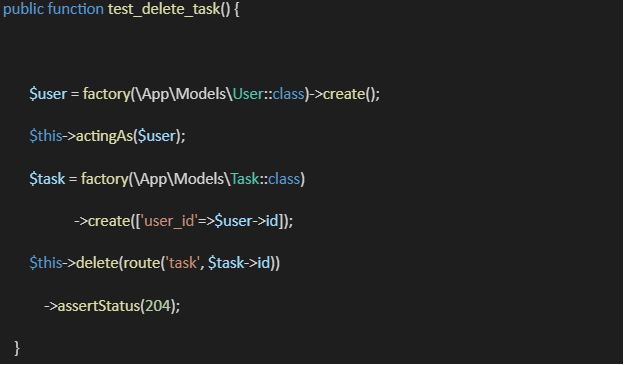
Test 4: Test to delete task
-
We’re checking if the expected status codes are returned with assertStatus.
-
The assertEquals() function is used to assert whether the obtained value equals the
expected value or not.
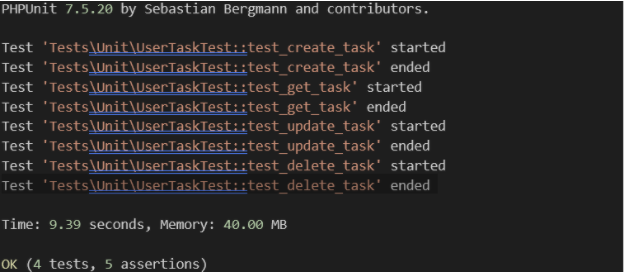
To run, let’s run vendor/bin/phpunit or simply
phpunit in the terminal.